I sketched a tribal band for my forearm once. It wrapped fine on paper, but shirtless at the beach, it looked stretched and heavy against my tan. Proportions threw off my arm's line.
Beach days expose everything. Ink needs to fit your build, not fight the sun or waves.
I've redone designs mentally a dozen times. Flat ink feels off, like an unbalanced outfit.
How To Design Stylish Mens Beach Tattoos
This method helps you create tattoos that sit right on your beach body. Clean lines, good scale. You'll end up with ink that looks intentional in swimwear. I do it before every parlor visit.
What You’ll Need
- Spiral-bound sketchbook for tattoo outlines, 9×12 inches
- Black fine-tip pens, waterproof ink set of 6
- Colored pencils, 24-pack vibrant beach tones
- Soft eraser kit for clean sketch corrections
- Tattoo design inspiration book, men's oceanic themes
- Temporary tattoo markers, skin-safe black and blue
- Slim fit rash guard shirt, quick-dry nylon
- Broad-spectrum sunscreen lotion, SPF 50 water-resistant
Step 1: Choose Placement for Beach Exposure

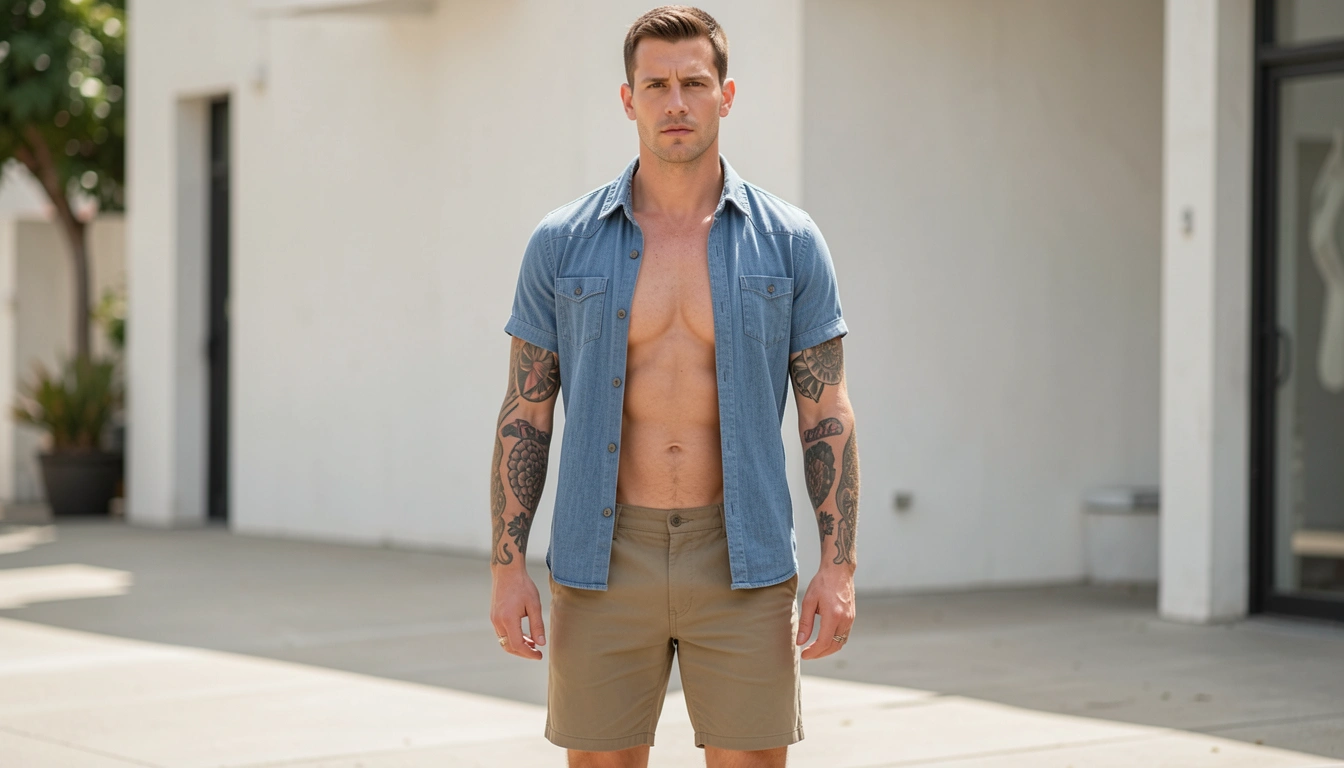
I start by standing shirtless in good light. Beach means arms, chest, or calves show most. I flex and turn, noting how skin stretches.
Placement changes the feel. A chest piece balances broad shoulders; arm wraps follow muscle flow. Visually, it grounds your silhouette.
People miss how water distorts lines—test bends first. Avoid shoulders if you hunch; they warp.
Don't pick a spot you cover often. Beach ink stays visible.
I trace lightly with marker. See the weight now? That's your base.
Step 2: Sketch Core Shapes for Proportion
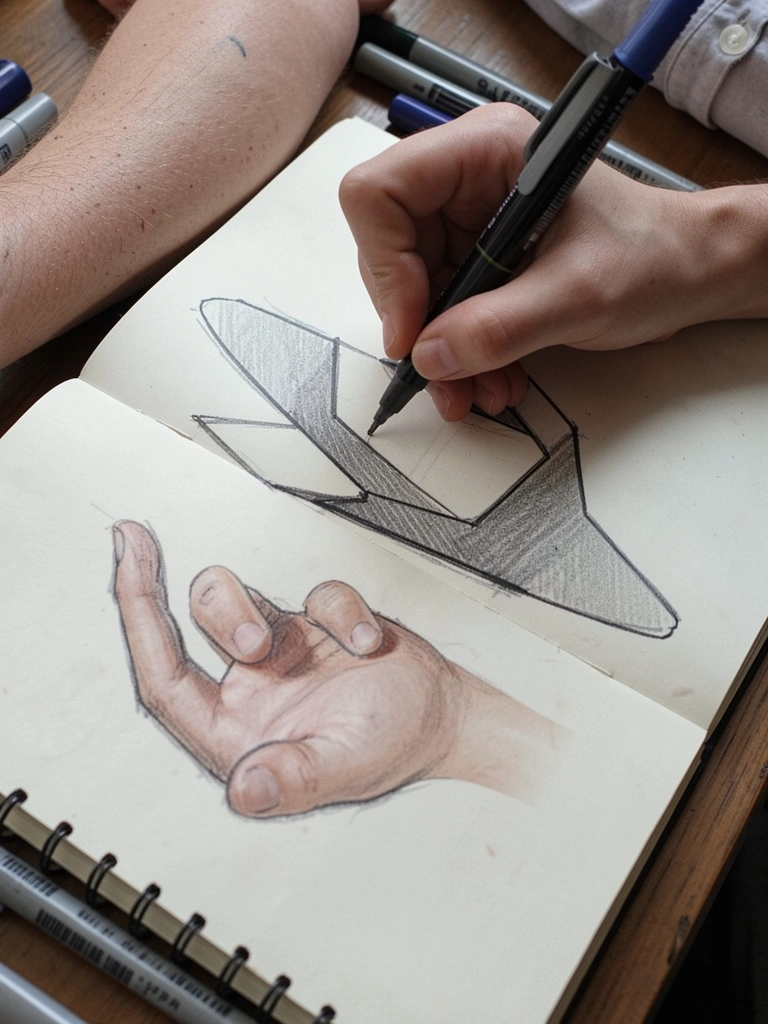
On sketchbook paper, I draw the main form—wave curve or anchor—to match body curve. Size it half the limb width.
Why? Oversized shapes dominate; tiny ones vanish in sun. Now the page mirrors your arm's scale.
Missed insight: Beach light washes bold colors, so shapes carry the design. Test against your rash guard for fit.
Avoid straight lines on curves—they pull visually. Curve them gentle.
I hold the page up. Feels even? Good.
Step 3: Add Layers That Pop in Sunlight

With colored pencils, I layer shading and accents. Blues deepen for ocean feel, blacks outline crisp.
Sun bleaches flat ink, so depth holds it. Visually, it lifts off tanned skin.
Guys forget contrast—light skins need dark fills, dark skins bold whites. Check in mirror light.
Skip fussy details; waves blur in water. Keep wearable.
My sketch breathes now. Balances the whole.
Step 4: Mock Up with Temporary Ink
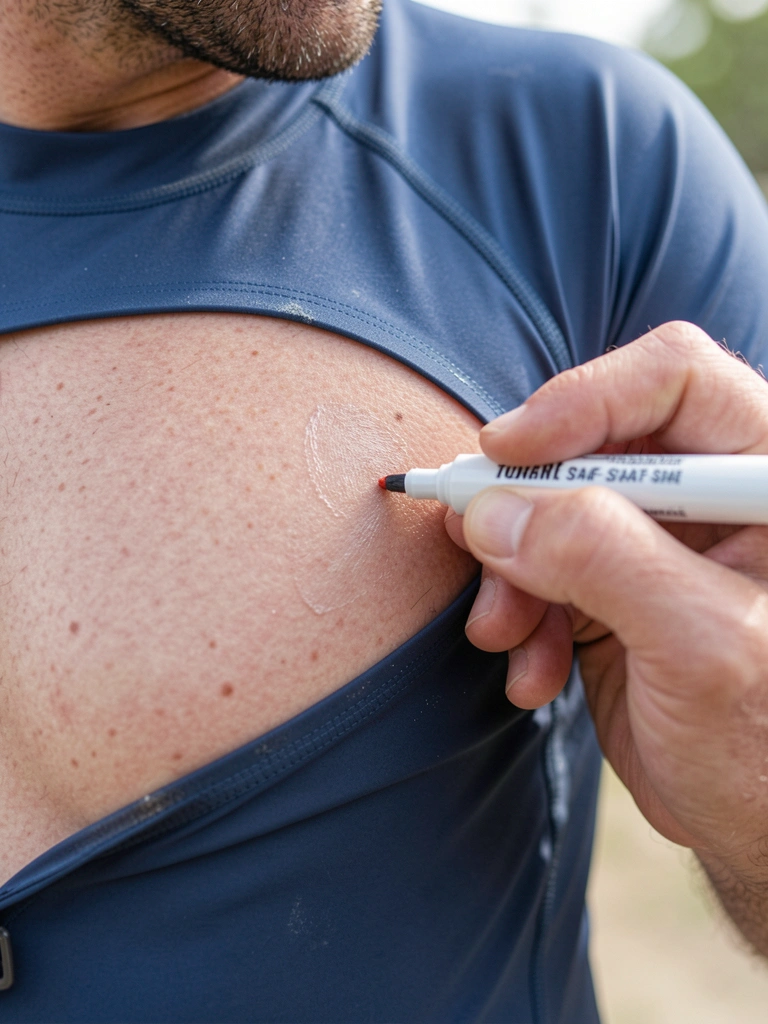
I use temp markers on skin. Walk around, splash water, wear the rash guard.
Real test: Does it flow with motion? Fades right? Changes everything visually.
Overlook swim fit—ink bunches under fabric. Adjust now.
Don't rush; dry fully or it smears.
Side by side with sketch. Tweak till it sits.
Step 5: Refine and Finalize Balance
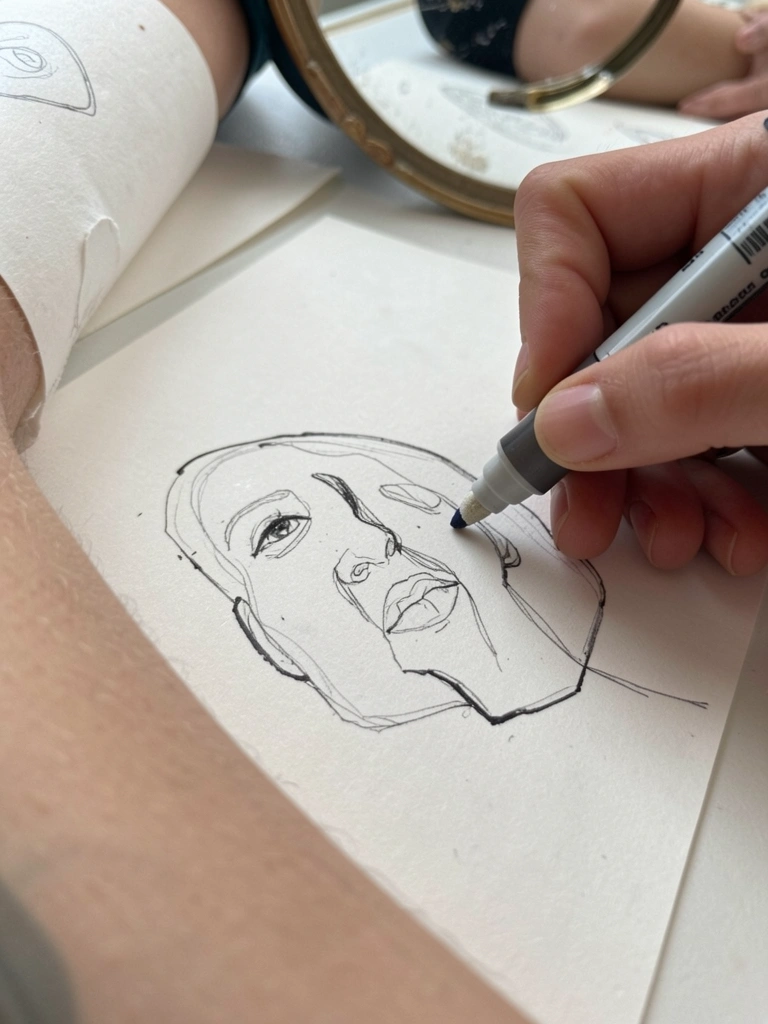
Back to paper, I erase and redraw. Tighten proportions, erase extras.
Final ink feels light, not crowded. Full body in mirror shows harmony.
Secret: Step back 10 feet. Beach views are distant.
Avoid matching trends; your build first.
Done. Ready for artist.
Best Placement for Beach Tattoos
Arms work best for me—easy show, hides under shirts. Chest fills V-shape without overwhelming.
Calves balance legs if you're active.
- Forearm: Vertical flow, wraps motion.
- Pecs: Horizontal anchors torso.
- Skip ribs—distort too much swimming.
Test shirtless first.
Styles That Shine at the Beach
Simple geometrics or waves hold up. Bold lines over fine script.
Ocean motifs fit naturally—anchors, sharks scaled right.
- Nautical: Clean, timeless.
- Abstracts: Move with muscle.
- Avoid florals; clash sand tones.
My waves faded least.
Caring for Beach Tattoos While Healing
Sunscreen daily. Rash guard protects new ink.
Water rinse gentle, no scrubbing.
- Reapply SPF hourly.
- Moisturize lightly.
- Shade first weeks.
Mine healed clean this way.
Final Thoughts
Start with one arm piece. Small wins build feel.
Your body knows balance—trust the mirror.
Beach ink just works when it fits you. Try it.
Leave a Reply